This guide will summarize all the other guides out there and hopefully provide you a complete guide from start to finish on how to install Windows 7 basically on any netbook. Here I’m using a HP mini as example. I will try to eliminate some of the outdated content on how to create a bootable USB, especially creating a bootable USB HDD. Everything I’ll be showing is going to work with tools has UI, no command prompt.
There are two parts in this guide:
Part I Create a Bootable USB Flash Drive or USB Hard Drive
Requirements:
- USB Flash 4GB+ or USB HDD any capacity.
- Windows 7 ISO Image file/disk
If you have a USB Flash Drive that are greater than 4GB you can create a bootable Windows 7 USB drive from this post we’ve mentioned earlier.
If you don’t have a USB Flash Drive that are greater than 4GB capacity, but have an external USB HDD. You can follow what I’m doing here.
1. You need to download this tool that can cover your USB HDD into bootable.
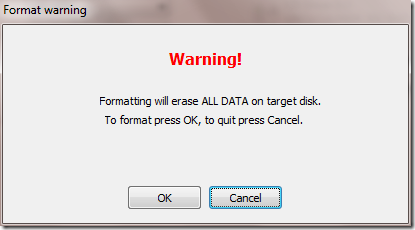
Please note that this will erase all contents on your USB HDD, do back your data UP!
Once you’ve download the zip file, unzip and open up the app called “WinToFlash”
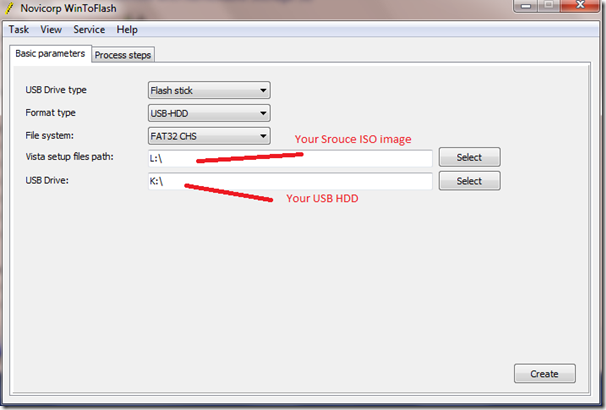
2. Accept the notice, and choose the Windows 7 ISO image source, this can be your real DVD driver or an mounted driver. In my case I use PowerISO to mount the ISO image. And the USB Drive is your USB HDD. Make sure you pick the right path.
Once you’ve done that, it will automatically format your HDD into FAT32 format. (note: If your host PC is in Windows 7, when you try to reformat the HDD by default it will only allow you to format NTFS and exFAT, this tool enables you to format into FAT32)
Accepting the warning.
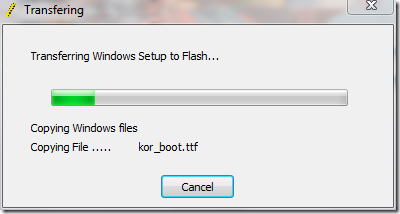
It will start to format and copy source file into USB Drive
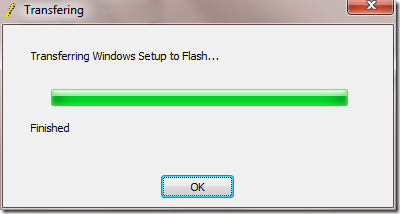
This will probably take a few minuets. Once its finished you are half way there.
Part II Install Windows 7 on Netbook
The biggest problem people are facing is the absent of DVD drive in almost all netbooks. Of course you can attach a USB to DVD adapter but why bother the lecture to get the adapter when you can install it from USB as well.
Step 1 Change the BIOS
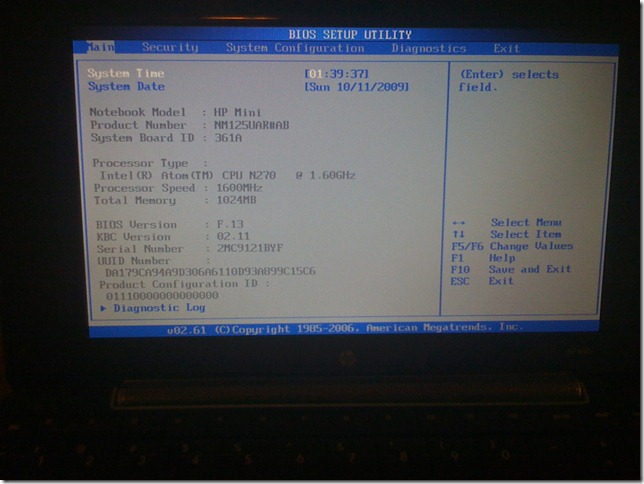
It is important to change the boot order of your partition. You can done that by going to your netbook’s BIOS setting.
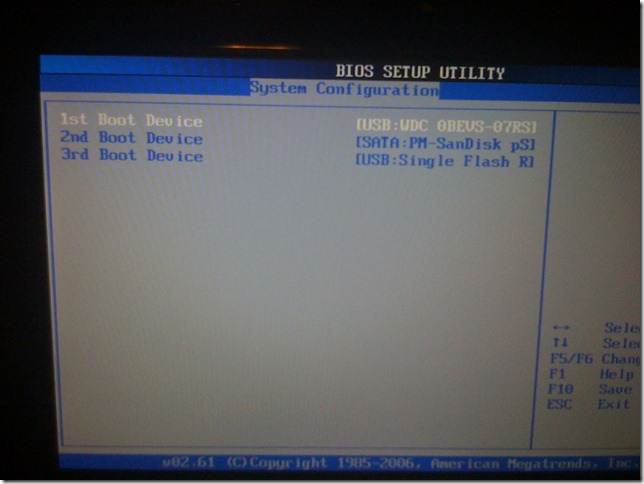
Go under System Configuration by moving your arrow.
Change the order of your Bootable Device listed with the F5 or F6
Hit F10 (or which ever the key for you is) to save the change and exit.
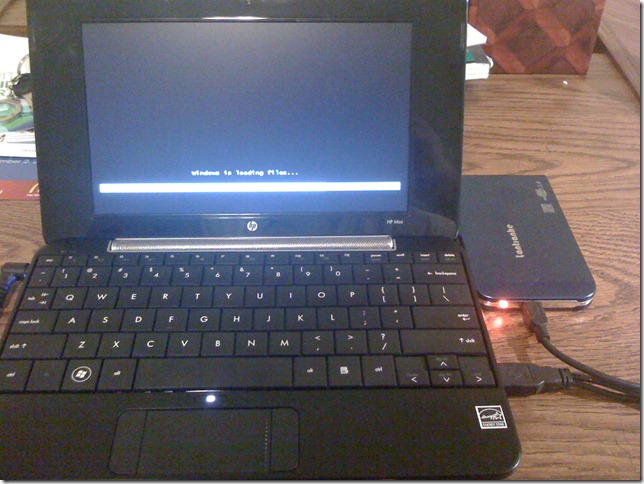
Now you will see the lovely Windows bootable screen showing up
Notice I’m using an external USB HDD to install Windows 7 on my HP mini.
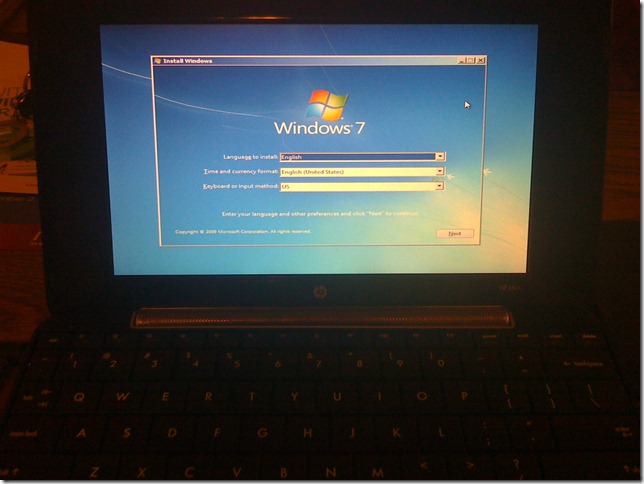
With just a few seconds, you will be able to see this Install Screen, and off you done. I will leave you to do the rest as the install process is fairly simple.


Hi
Tried this
Cant format my usb drive
message says”cant lock the drive”
Any ideas as to how to proceed?
You are the greatest. After all the other sites I tried I got skeptical when I came across yours. I tired everything to no avail. Your method had my computer up and running before I could turn my head to realize that it was actually working. After 16+ hours at this, you are a lifesaver! Thanks.
Glad this helped 🙂
Love your blog I’m going to subscribe, especially because your topic is about featured
Great blog, not like the others!
usually try to press and hold “del” button or “F12” or “F10” when you first turned on the machine
trying these methods to enter setup on my hp mini 210 bu its not working. NB. Im currently running windows 8